Why are you writing about this date? Surely this predates any time you were building FrankenJeep, right?
Well, stay with me, and it will make sense… sort of.
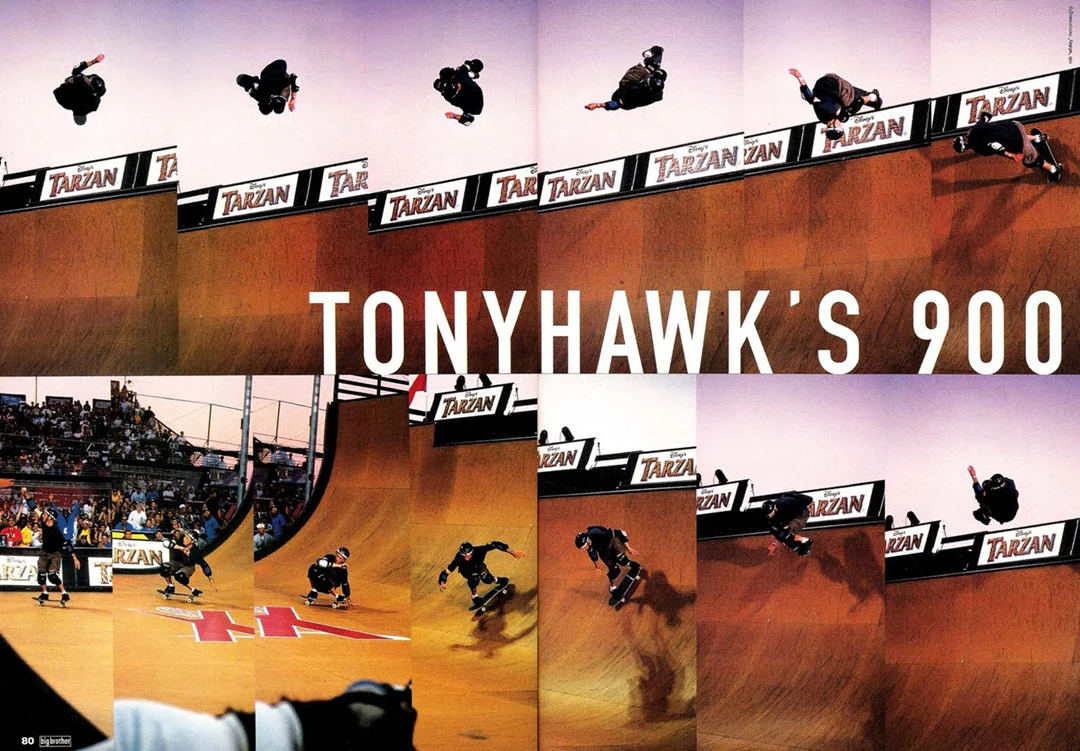
27 June 1999 – The X-Games are in San Francisco, and in their fourth year of extreme sports competition. The skateboarding vert competition has just finished:
Bucky Lasek wins Gold
Andy MacDonald wins Silver
Tony Hawk wins Bronze
The crowd goes wild! What a sight to behold! Bucky Lasek is congratulated by everyone. This was obviously the cleanest run of the night.
Enormous kickflip varials, giant frontside slides, attempted kickflip backflips, and other huge tricks were seen throughout the night. Then Tony comes out and thinks, “Bronze Medal? Check this out!” as he drops in and busts out the first 900 ever performed in competition. The rest is history…
Right? That is how it went. Isn’t it? Well, not exactly.
You see, Tony did not “just” come out and bust out a 900. He actually made ten attempts in order to land it… and only after time had expired. Some contestants protested. Regardless, the crowd continued cheering him on. The announcers actually said, “We make up the rules as we go along.” and the cameras kept rolling.
Then, on his tenth attempt he makes the rotation. He spots the transition. He catches the board. Landing a little forward, he windmills his arms, touching the ramp with one arm… and he rolls away.
Chaos ensues. The crowd goes batshit crazy. The first 900 has been landed. It is in the bag. Every single skater bum rushes Tony and lifts him in the air.
COOL STORY, BRO. WHAT HAS THAT GOT TO DO WITH ANYTHING HERE?
Well, you see, I was around for this. I actually watched it on TV. I could have sworn now that Tony showed up after “losing” the competition and he just busted out this 900, like he had it in his back pocket the whole time. I remember it as a big “Ef-You” to everyone, showing the world he was still good.
And that is the funny thing about the way we remember things, when enough people recount the same version of a story, we eventually remember that version, and not the actual event.
But the way it went down is even crazier.
Tony Hawk was 32 years old and about to retire when he competed in the 1999 X-Games. He had been skating for 23 years now, and was already a huge name in the sport. He had already competed in and won more medals than most skaters. He had started a wildly successful skateboard company. Nobody thought he was washed up. But, that night, he wasn’t there just to win medals. In the end, he was there to make history. First it was the Varial 720. He had landed that fairly early in his session. After that, he shifted his focus to the one trick left that eluded him – landing the 900.
After the competition was coming to an end, his mentality changed and he no longer cared where he placed, or even if he made it on the podium. This was not a personal vendetta towards losing to Bucky. After the medals were handed out, Tony Hawk stopped competing against other skaters and started competing against the 900. This change was so strong that even the crowd noticed, and there was a shift in the atmosphere.
Tony kept trying until he landed the trick. He didn’t even care that the buzzer had already gone off. He just dropped in, failed, got up and did it again. Drop in, fail, get up, and do it again. And again. And again. And it was evident now that this was no longer about a podium race, it was literally about making history, and everyone knew it.
Sometimes, the goal that we start out with shifts. You fail. You pick yourself up and try again. Then you find a better way. And along your journey, you find that there are better goals than just winning. Sometimes, you end up doing something completely different, something that nobody has ever thought possible.
More than 25 years later, I still think about the moment when Tony Hawk landed the first 900. I am beginning to realize that I had it wrong this whole time. I thought Tony was out to showboat, to prove that just because he came in third place, did not mean he was a washout. When, in fact, quite the opposite happened. He was so focused on trying to create something new that he was content with letting the podium slip away, and he climbed back up the ramp to make a second attempt. And again, for a third. And then for a fifth try. And for the ninth time, until on that last try, when he did what he realized he had come there to do all along – make history.
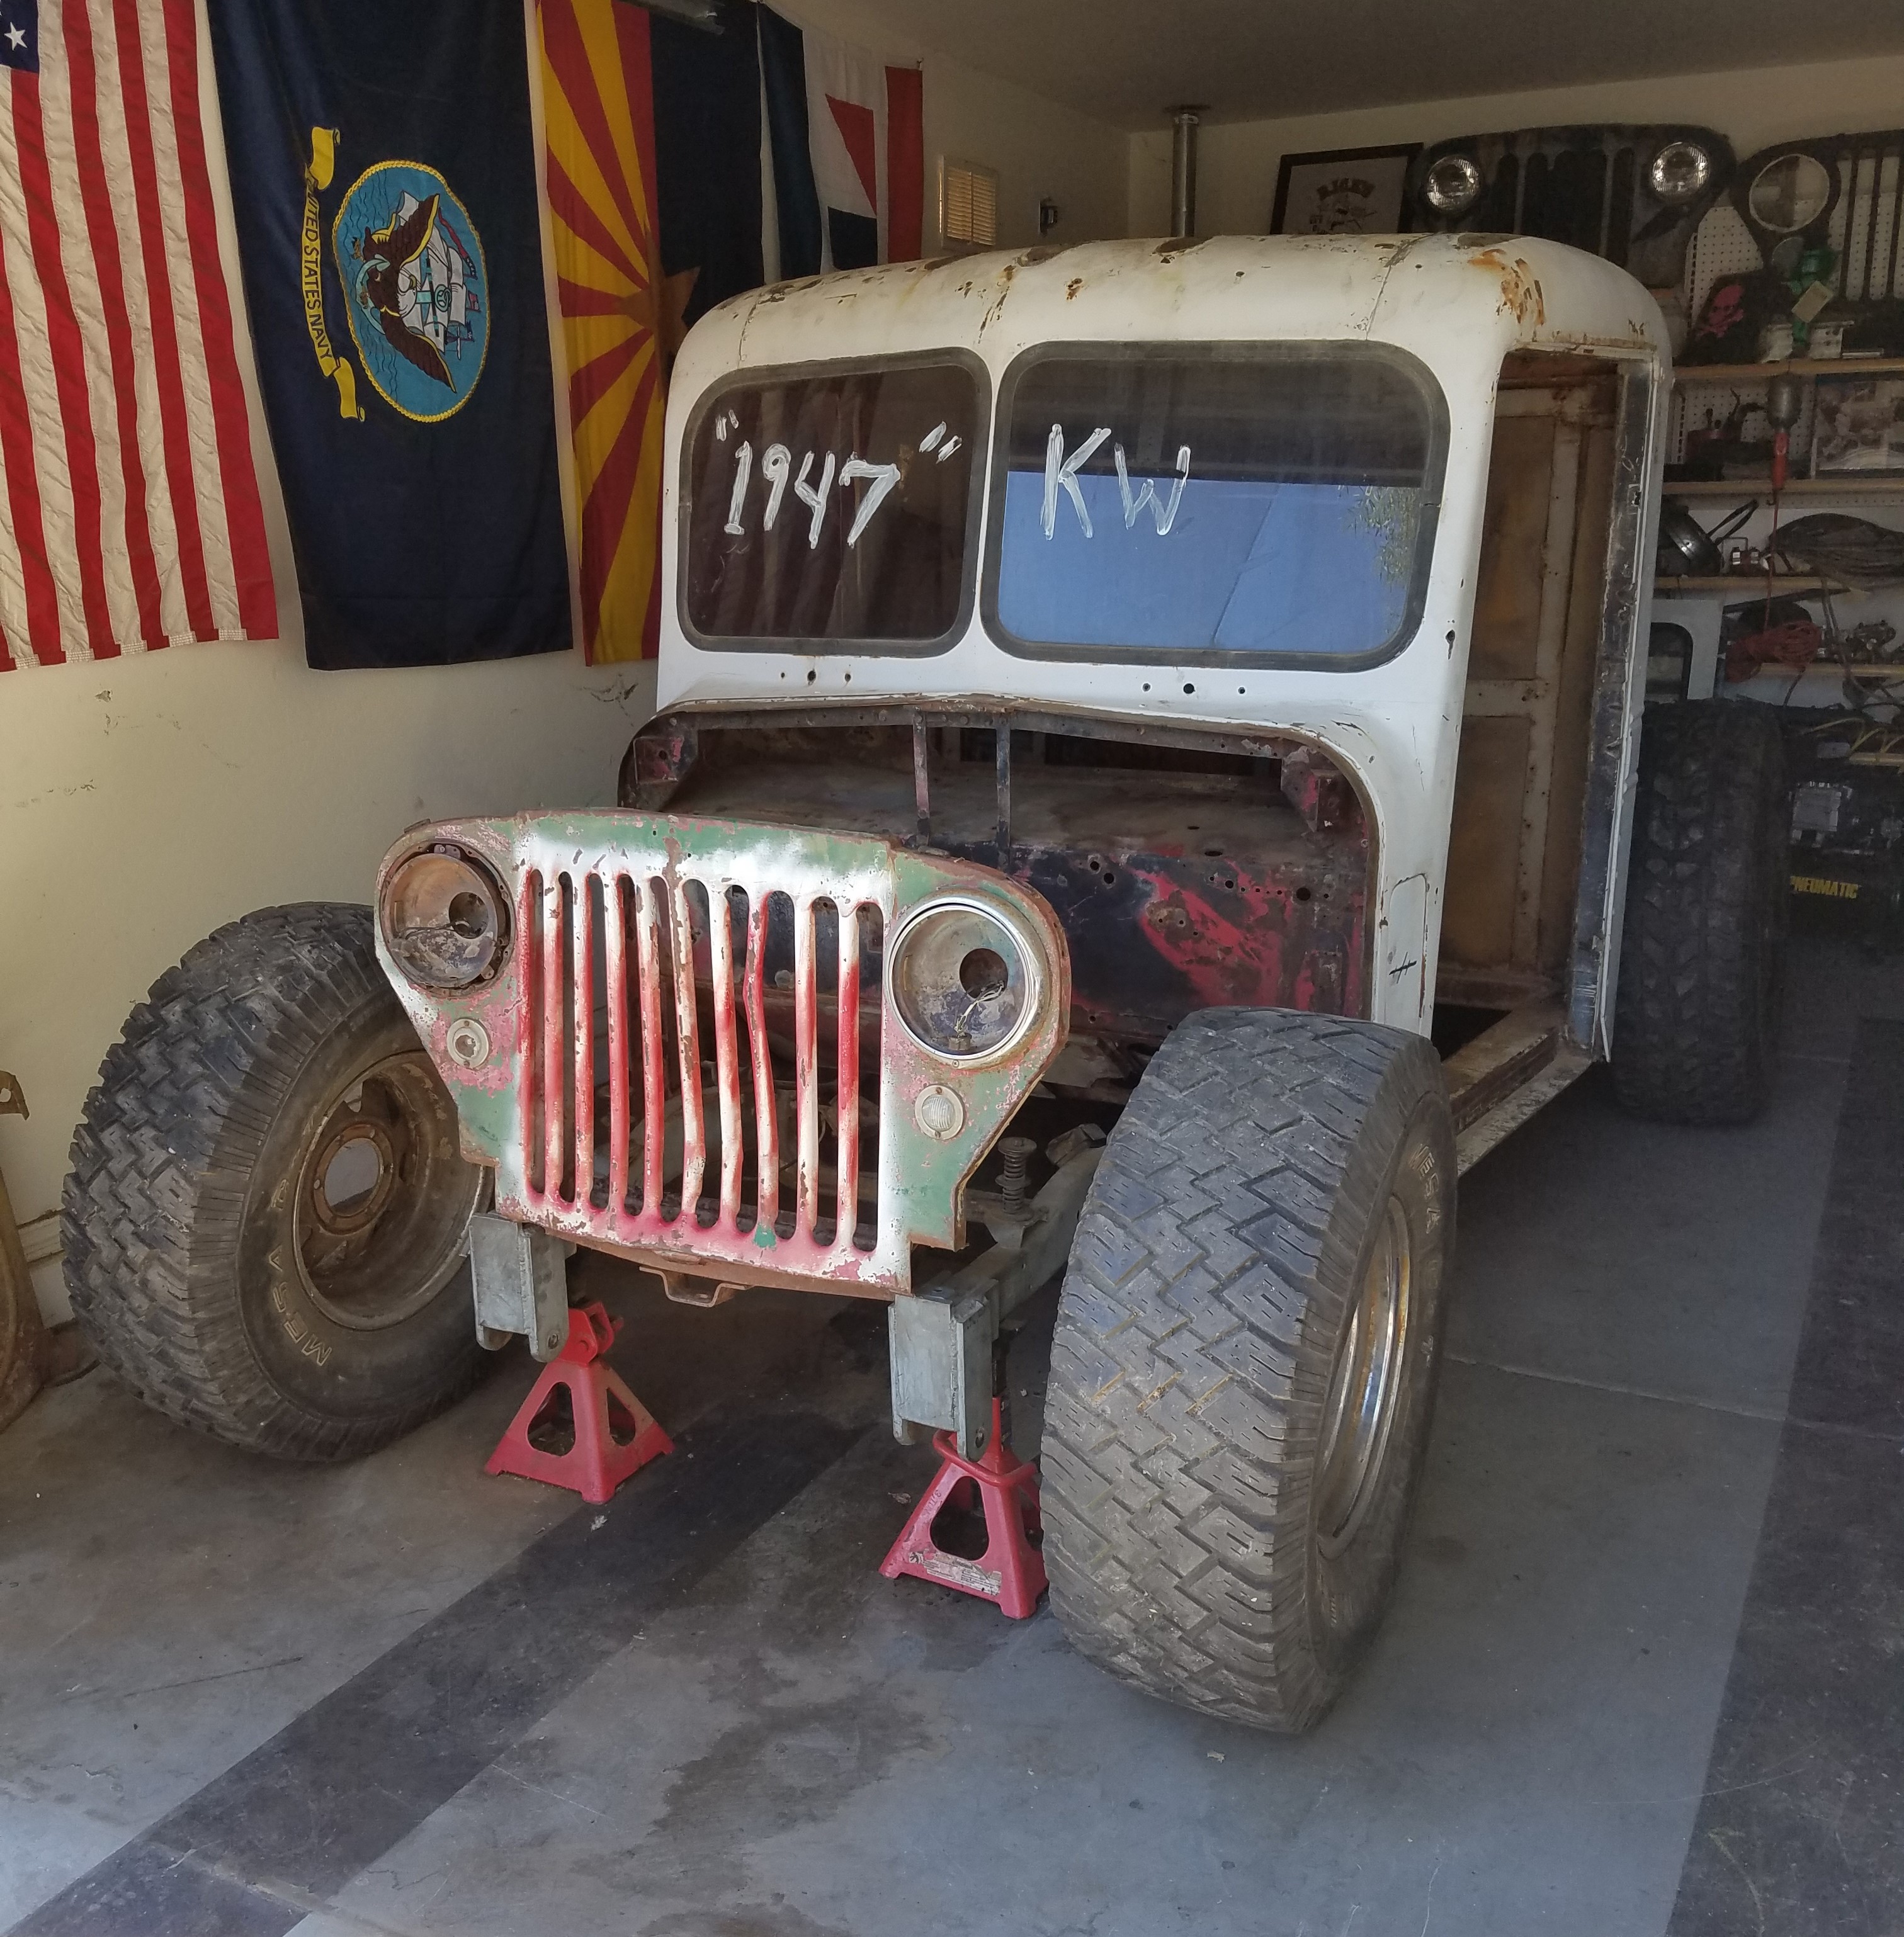
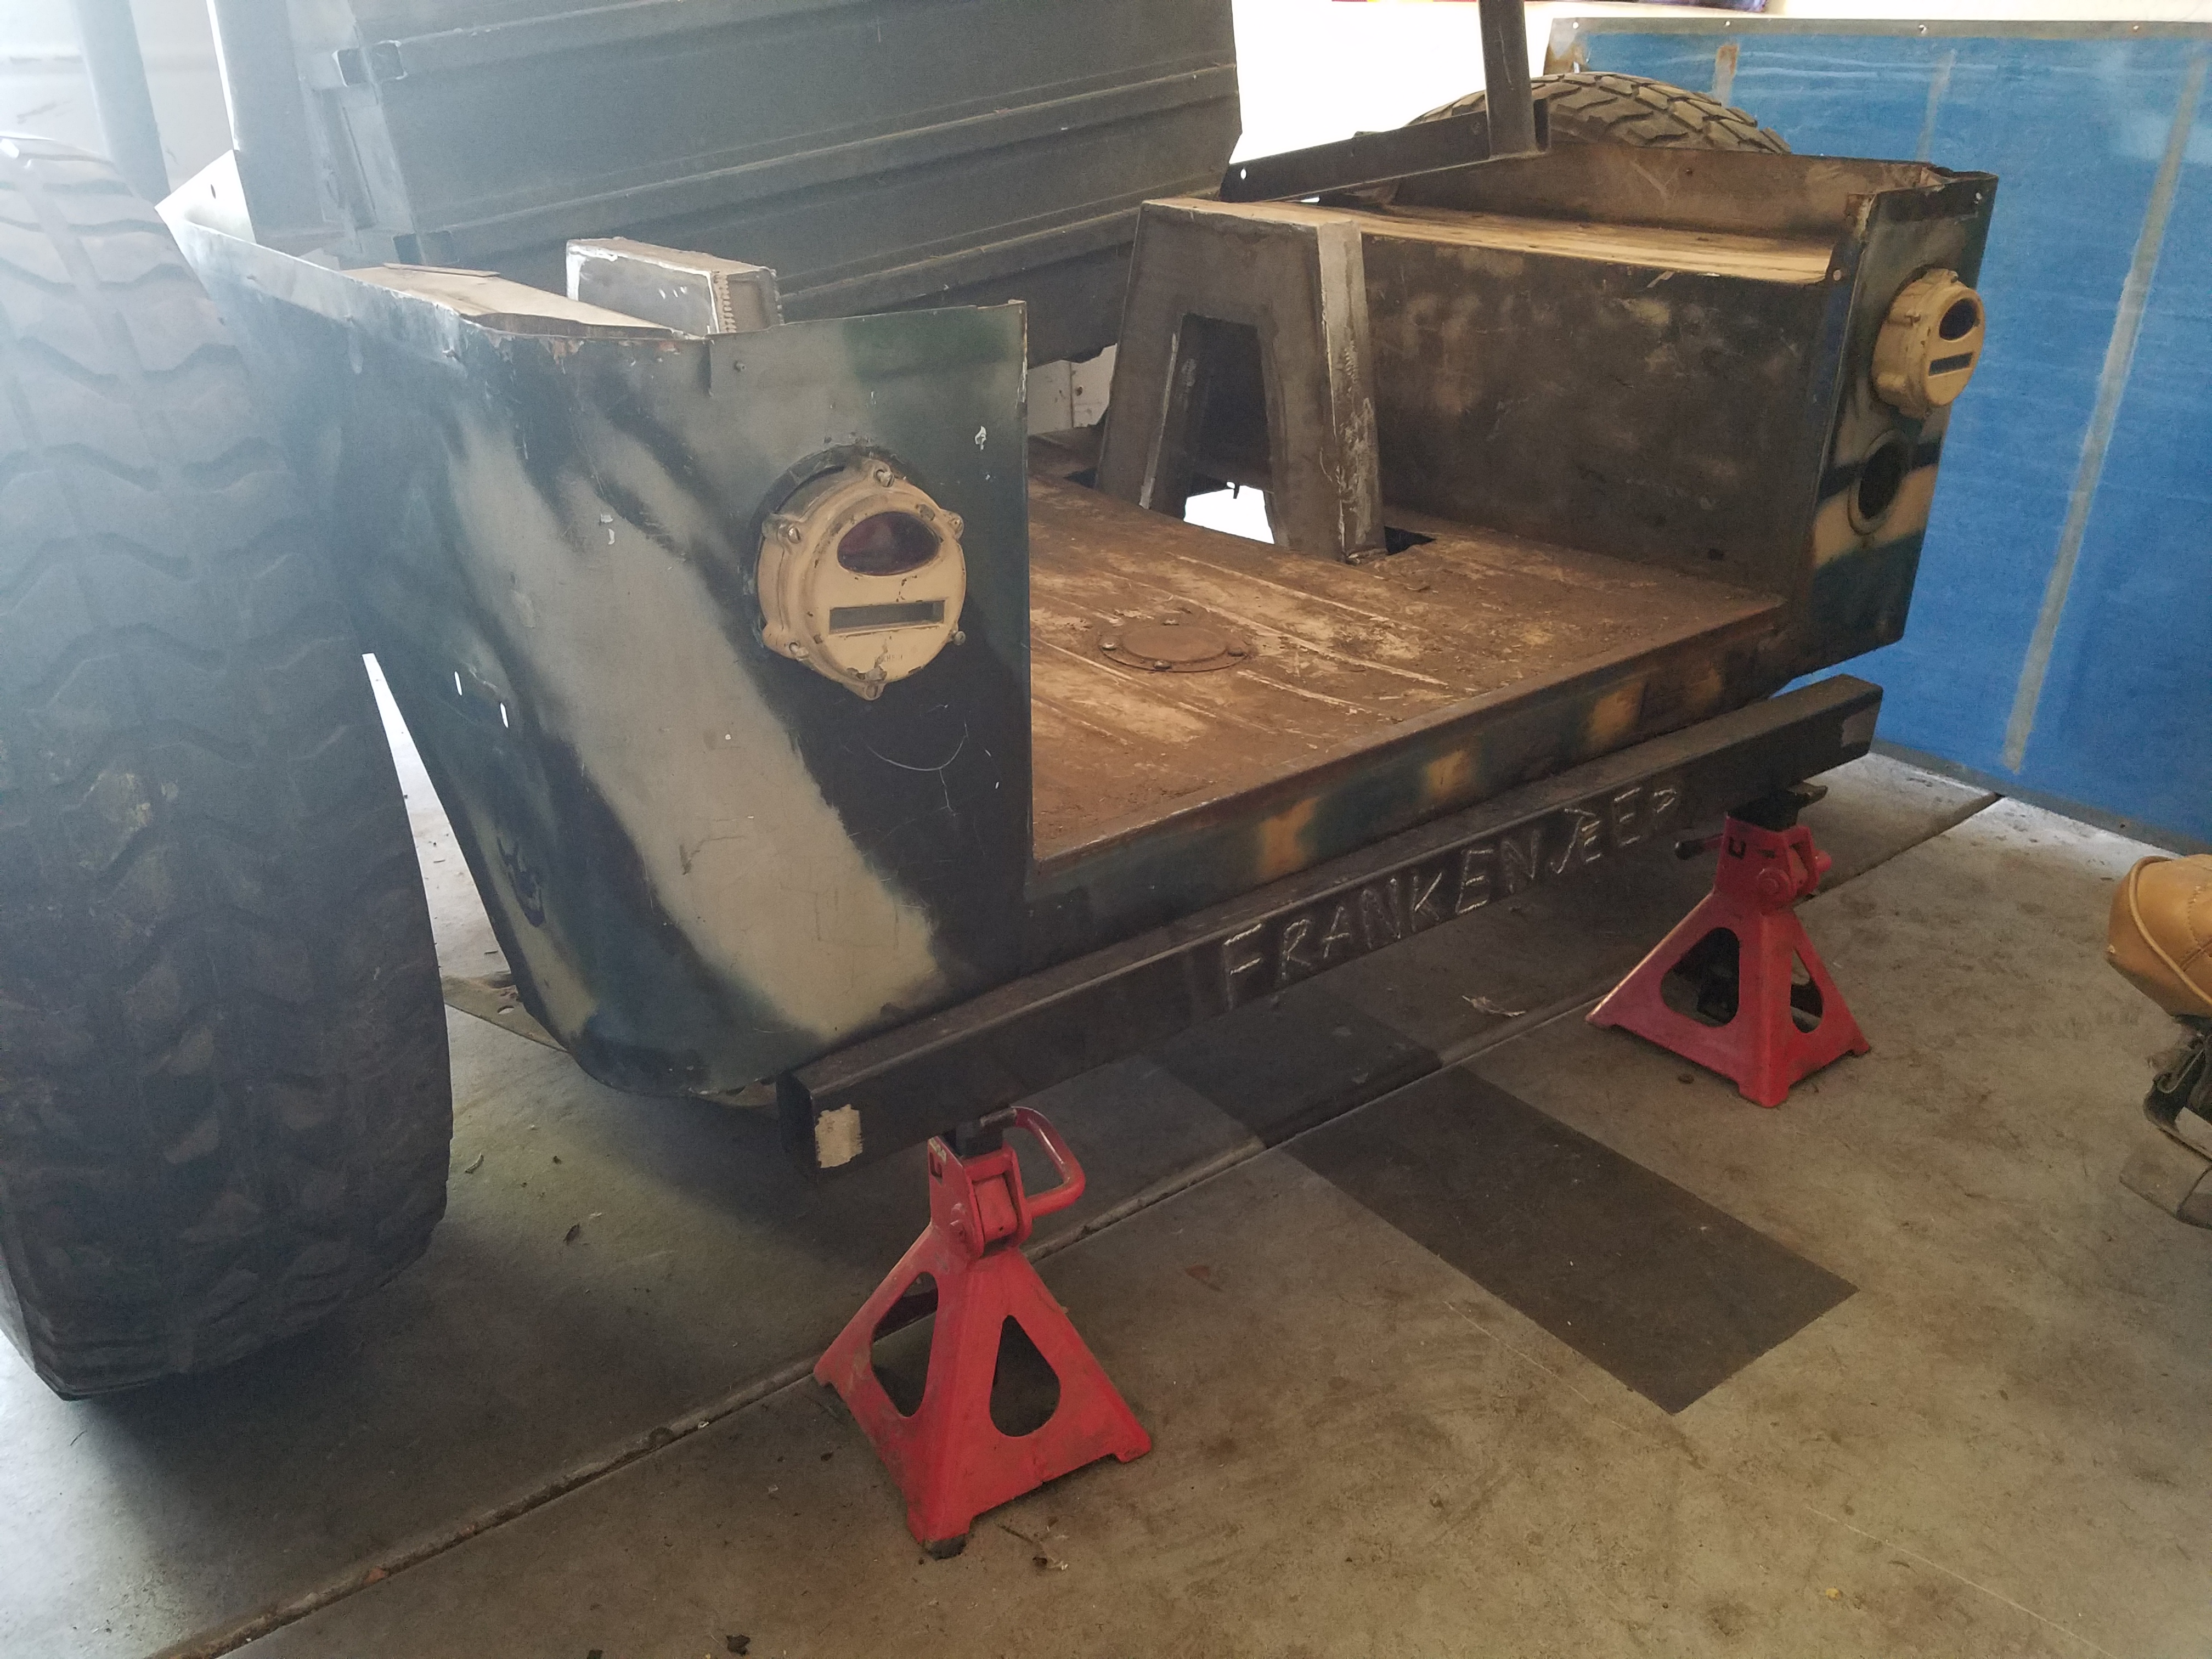
I started out here to build a Jeep that no one had seen before. Somewhere along the way, I started to measure success by my position on the podium. I see now that the medals have all been handed out, and I did not make gold. I didn’t even get silver.
Perhaps I have been trying to land my own 900 all this time.
What that looks like is still to be determined. What I do know, is that after four years of blogging, and 12 years of building – I am no longer content with being on the podium. I thought I wanted a medal. I thought that building a truck was the goal. Maybe I was actually building something else. Perhaps I will just continue to climb up and drop in over and over until I finally land it.
Until I do, keep the cameras rolling…


![20160828_224916[1]](https://azfrankenjeep.com/wp-content/uploads/2016/08/20160828_2249161.jpg)
![20160828_225613[1]](https://azfrankenjeep.com/wp-content/uploads/2016/08/20160828_2256131.jpg)
![20160827_191134[1]](https://azfrankenjeep.com/wp-content/uploads/2016/08/20160827_1911341.jpg)
![20160827_204453[1]](https://azfrankenjeep.com/wp-content/uploads/2016/08/20160827_2044531.jpg)
![20160716_205950[1]](https://azfrankenjeep.com/wp-content/uploads/2016/08/20160716_2059501.jpg)
![20160716_210924[1]](https://azfrankenjeep.com/wp-content/uploads/2016/08/20160716_2109241.jpg)
![20160716_211814[1]](https://azfrankenjeep.com/wp-content/uploads/2016/08/20160716_2118141.jpg)

![20160717_005003[1]](https://i0.wp.com/azfrankenjeep.com/wp-content/uploads/2016/08/20160717_00500312.jpg?w=303&h=303&crop=1&ssl=1 "20160717_005003[1]")
 WHOA!!! I did NOT see THAT coming!!
![20160705_170105[1]](https://i0.wp.com/azfrankenjeep.com/wp-content/uploads/2016/07/20160705_1701051.png?w=322&h=246&ssl=1 "20160705_170105[1]")
![20160705_165907[1]](https://i0.wp.com/azfrankenjeep.com/wp-content/uploads/2016/07/20160705_1659071.png?w=284&h=246&ssl=1 "20160705_165907[1]")
![20160711_195313[1]](https://azfrankenjeep.com/wp-content/uploads/2016/07/20160711_1953131.jpg)
![20160711_195338[1]](https://azfrankenjeep.com/wp-content/uploads/2016/07/20160711_1953381.jpg)


![20160717_005332[1]](https://azfrankenjeep.com/wp-content/uploads/2016/07/20160717_0053321.jpg)
