Posts Tagged ‘Fabrication’

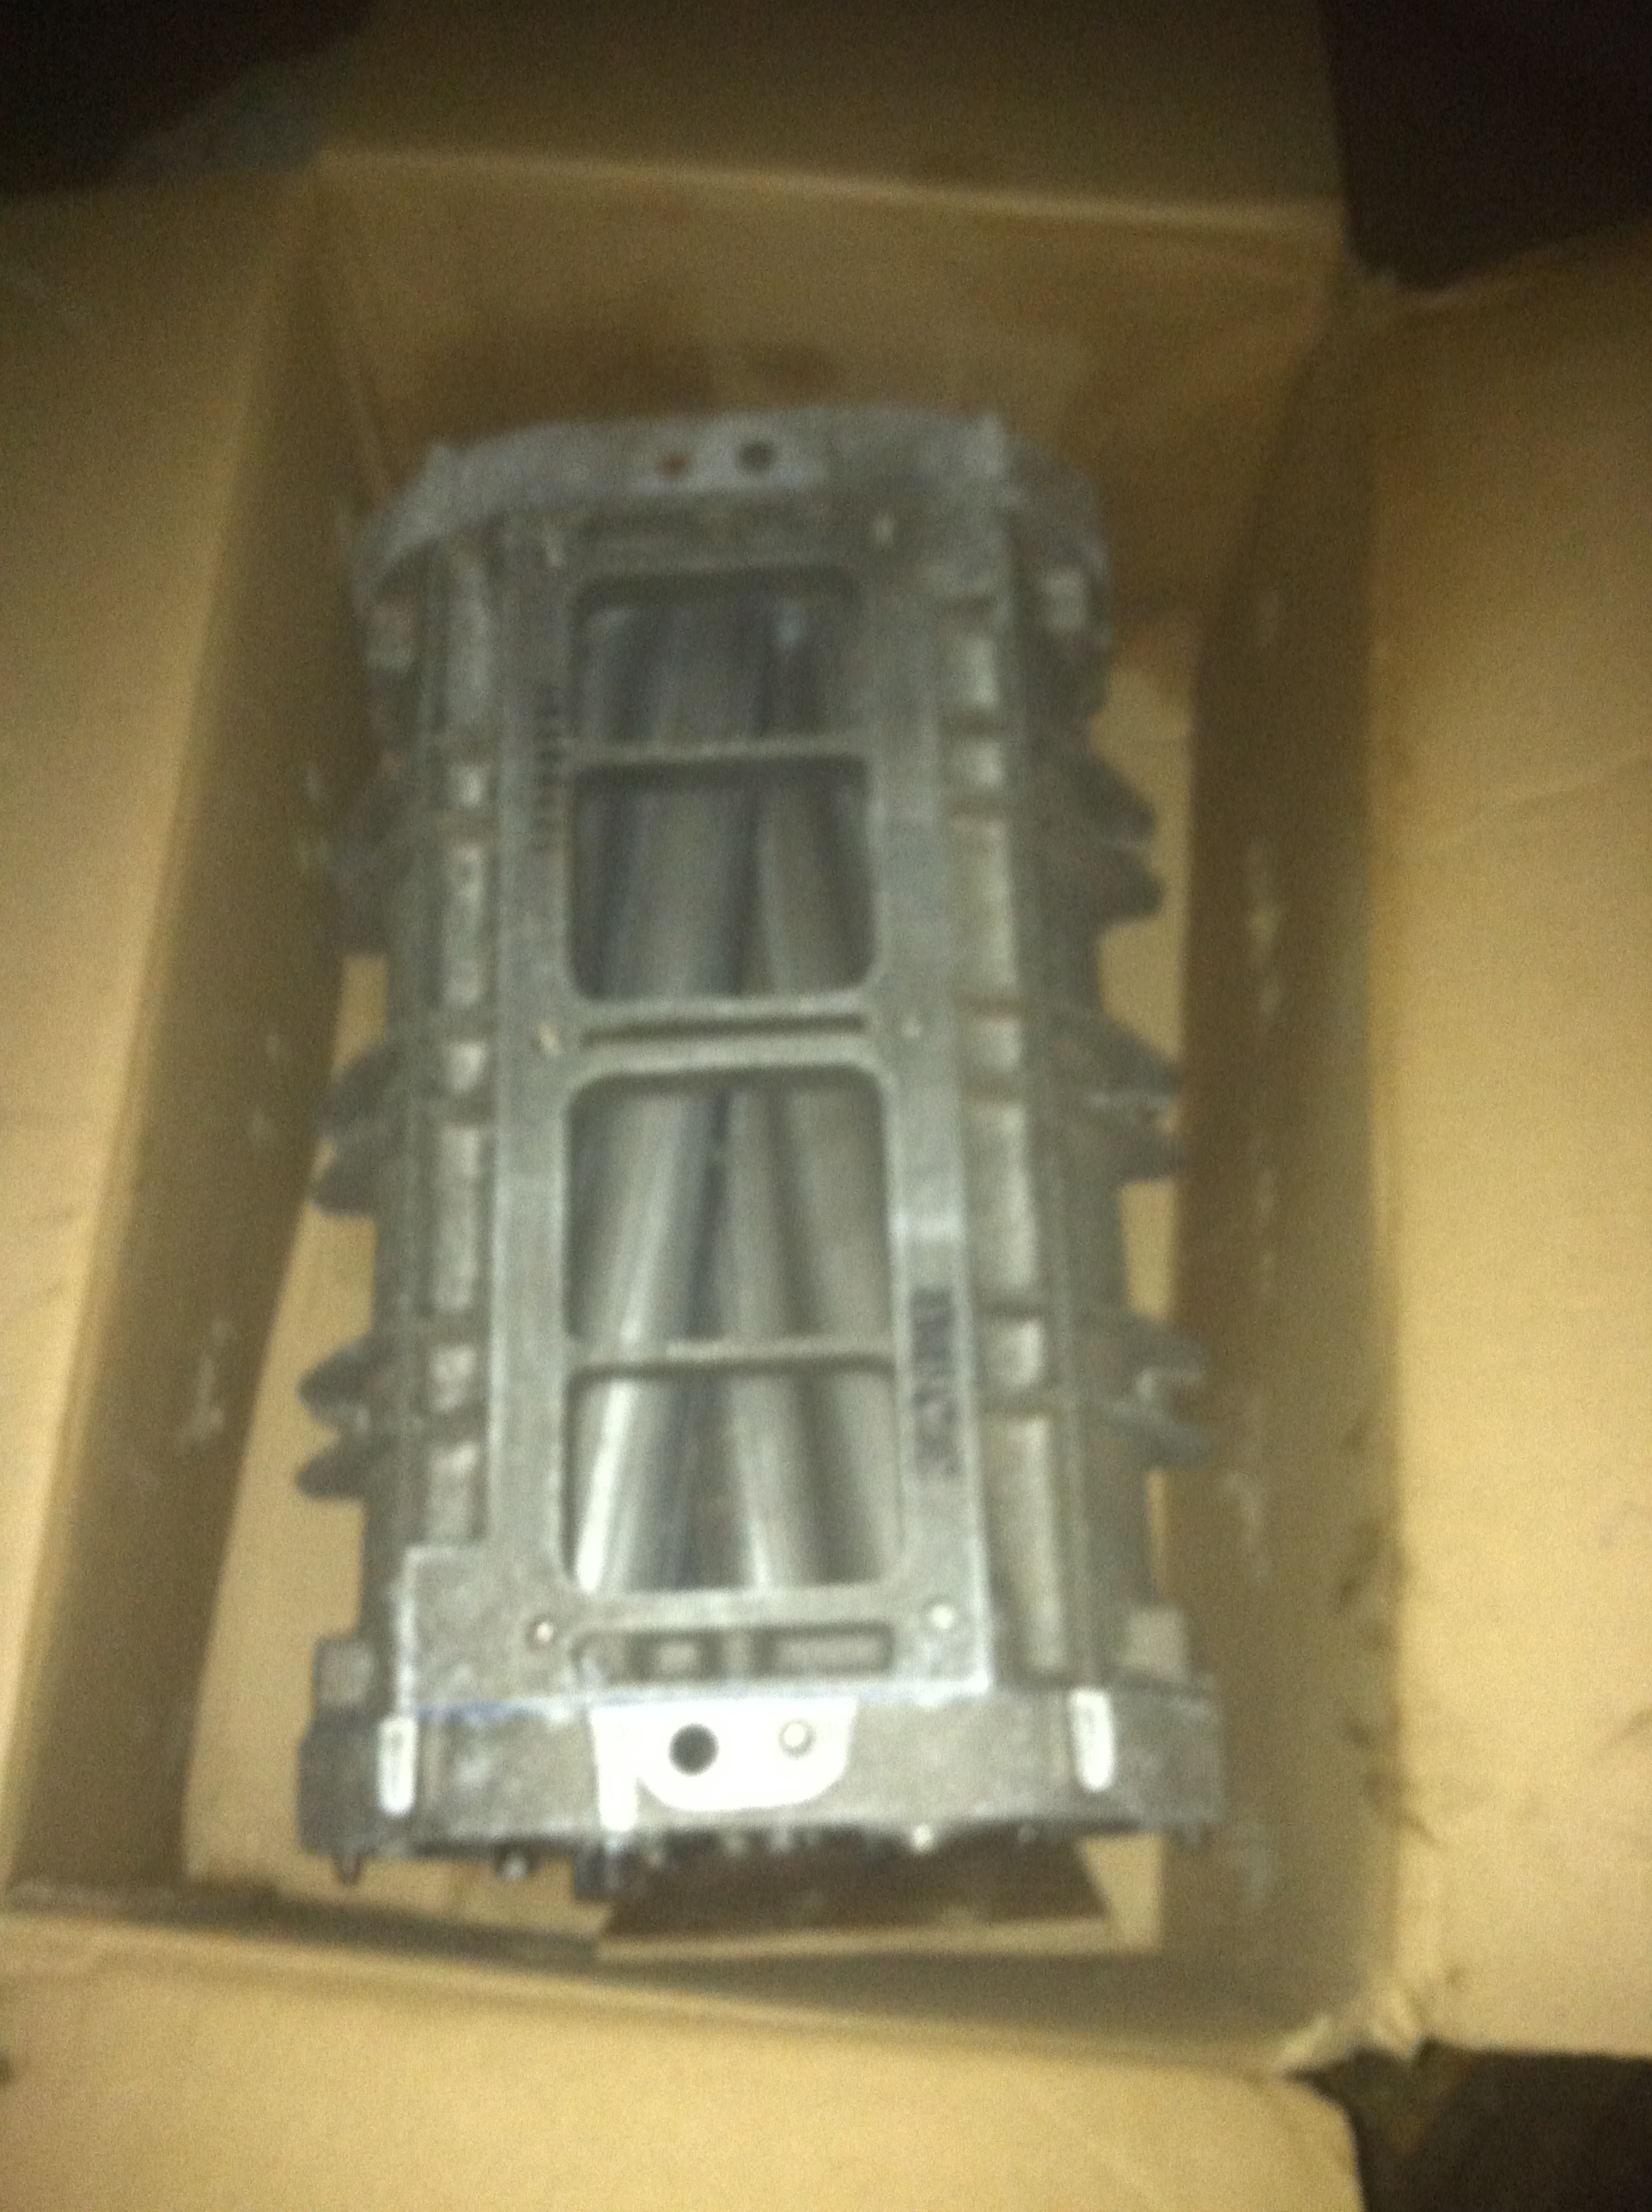
…literally. As it turns out, my quarter panels are made of pot metal. For those of you that may not know why this is such a big deal – pot metal is the left over non-ferrous metal that was thrown into one pot and melted down into a single molten liquid that was easier and cheaper to cast. Again, why is that such a big deal? It is most often lacking iron, meaning I cannot weld it. Okay, I cannot easily weld it with the tools that I have. Pot metal has a lower melting point than a more pure iron, therefore it just blows away when I try and heat it to glue metal together with.

So Mac, “What are you going to do now that you cannot weld your top on?”

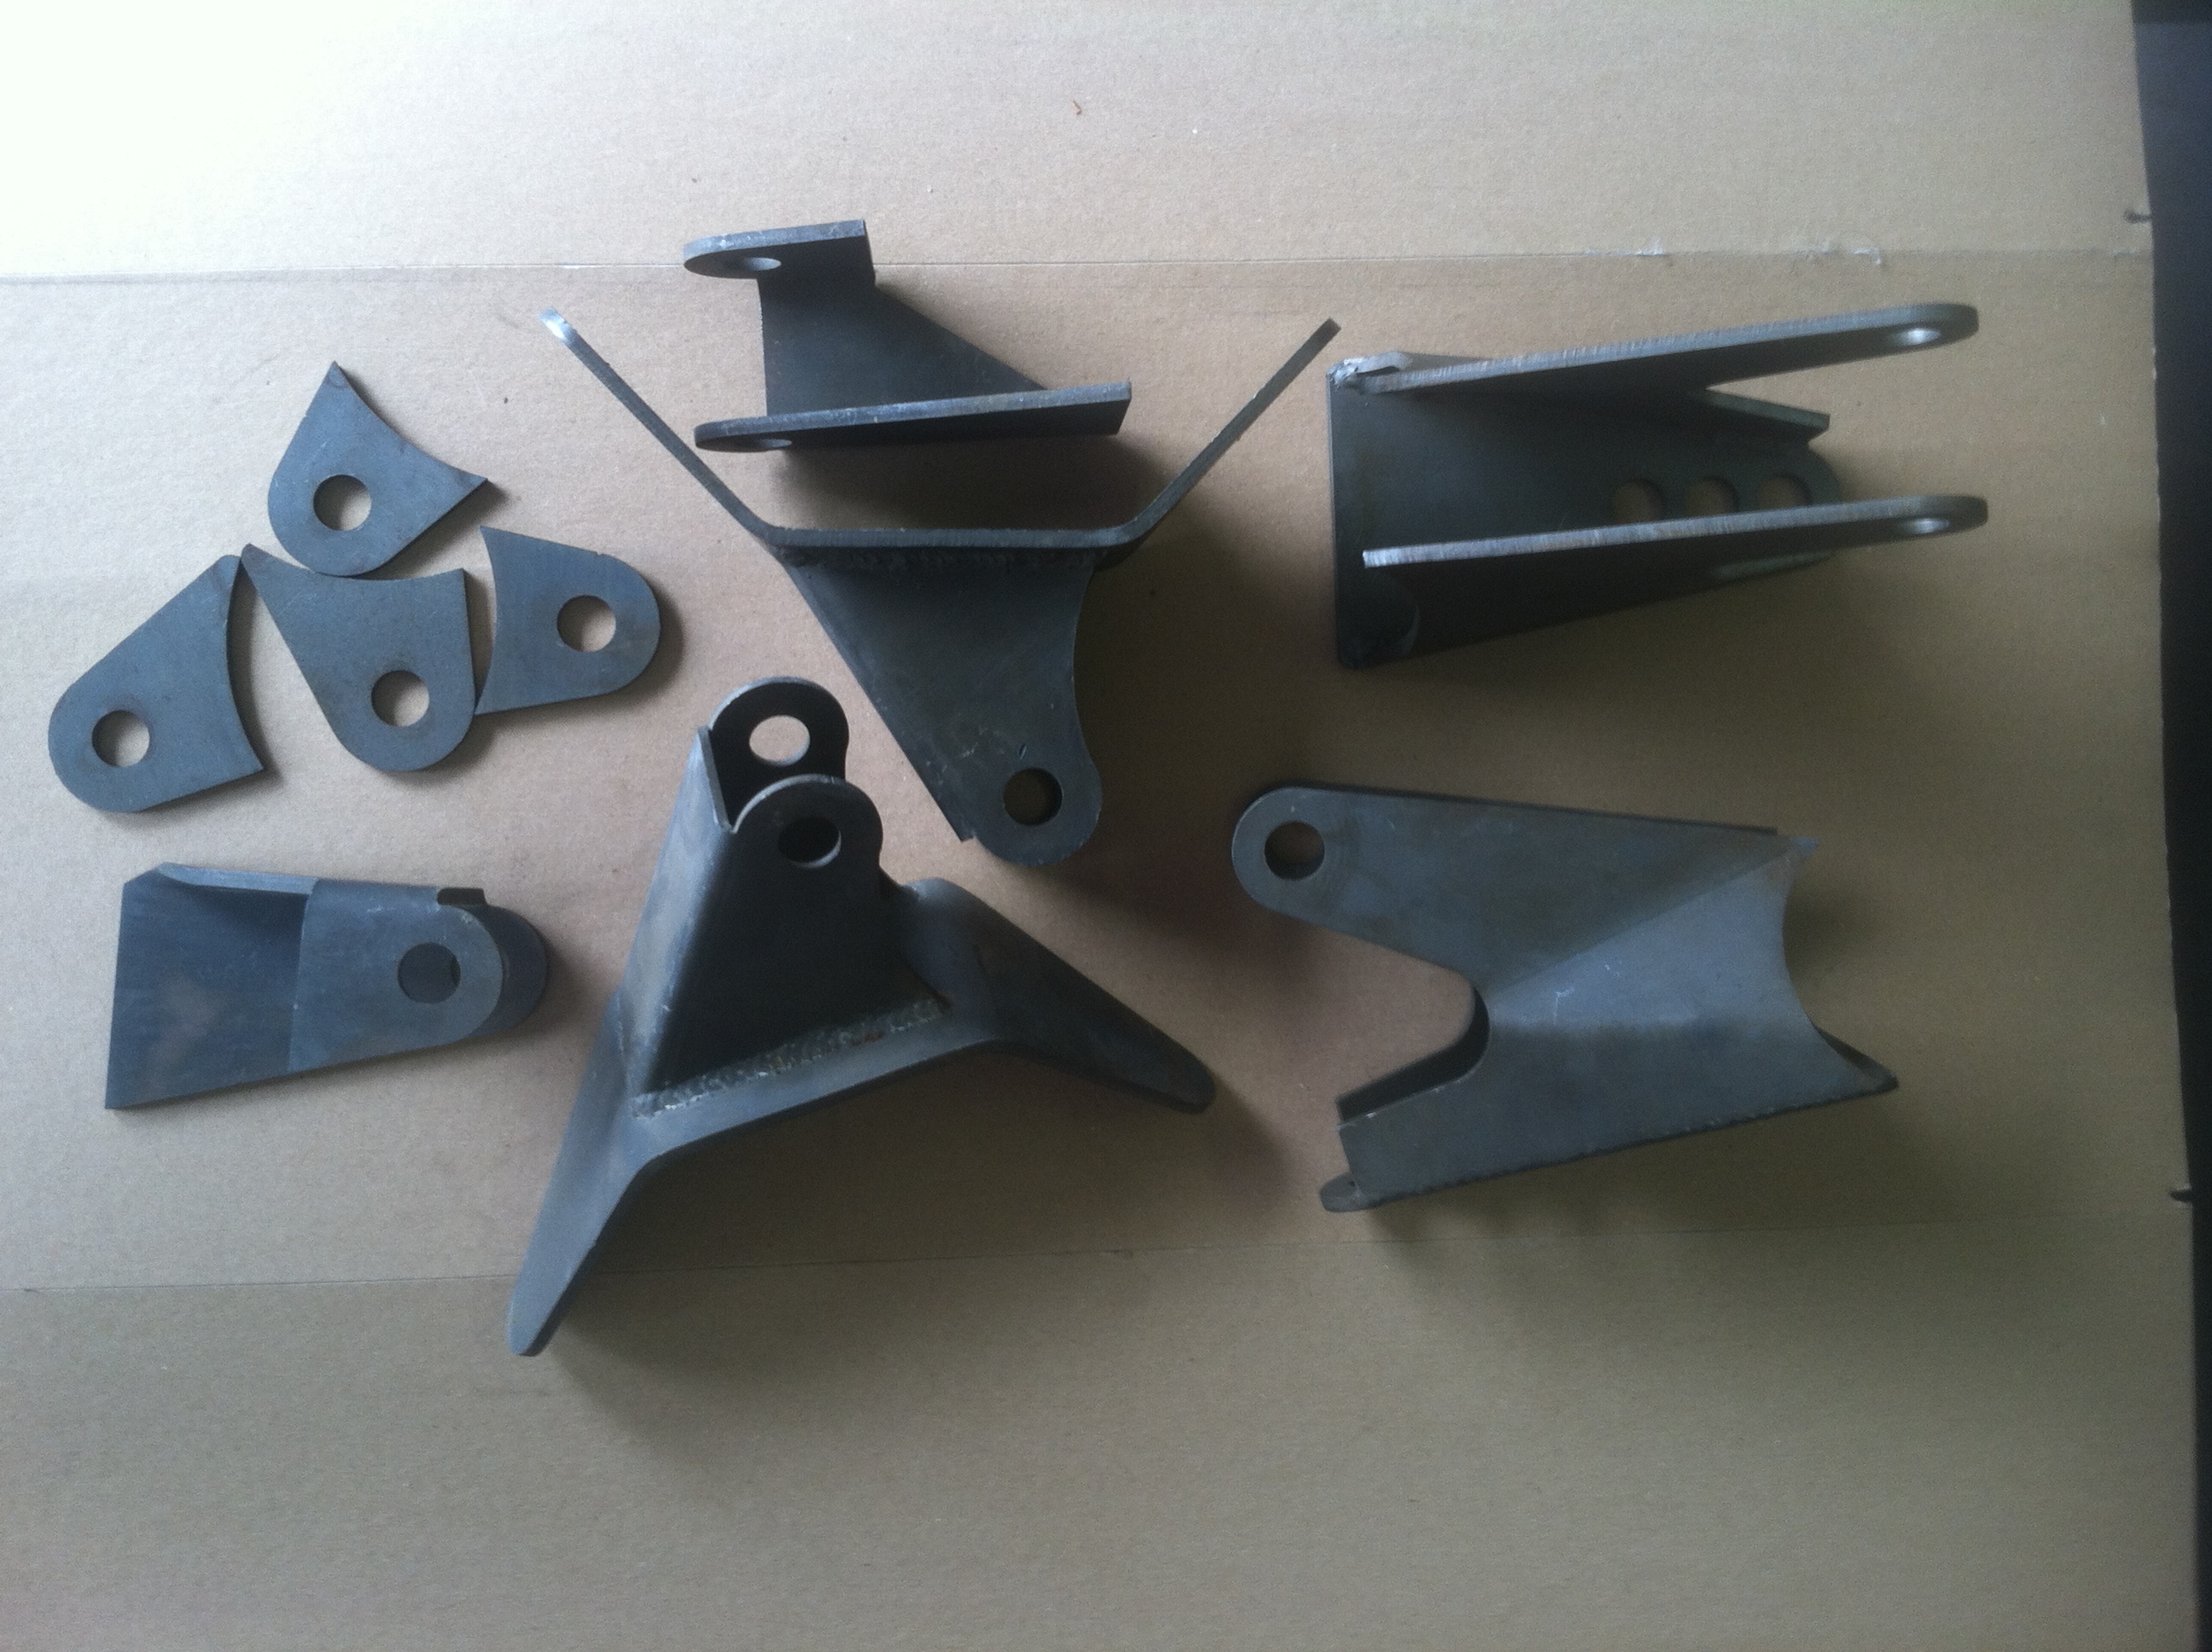
Ah, I said my quarter panels were pot metal. The structural framing (i.e. the roof, the A-pillar, the skeletal beams and the firewall) are all steel. They are all capable of being welded. This means that I can make the chop structurally sound, I just need to figure out what to do with the quarter panels. And I think I have an idea for that. Again, I need to make sure I can do it before I say too much more, but I can say this much – it will definitely work with the look of something named FrankenJeep.

You want pictures, don’t you? As I am always one to oblige when I can… for your enjoyment.

Before – A stripped Kenworth cab at stock height.20160822_1104281

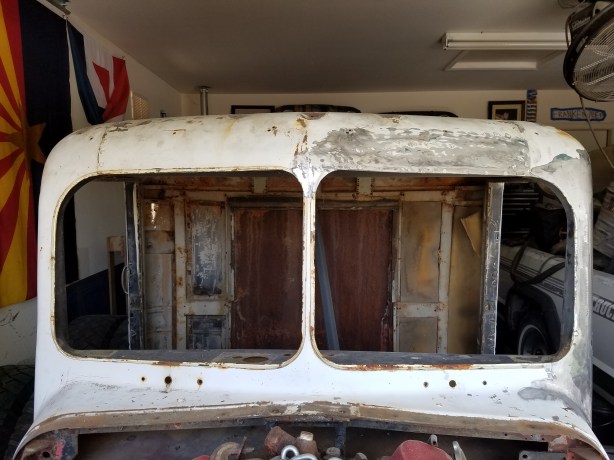
You can see here that we have marked out the 4″ we want to cut out.20160827_1555161

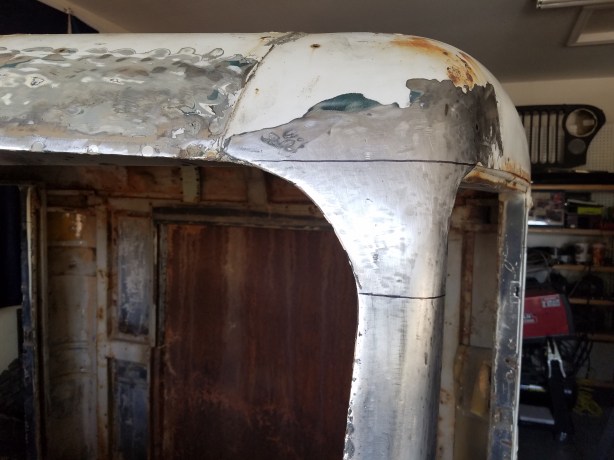
The backside has been lined out.20160827_1555101

And the right side A-pillar is ready to go.20160827_1555401

Tony making some cuts. You can see we carefully used a cutting wheel to chop this cab.20160828_1834001

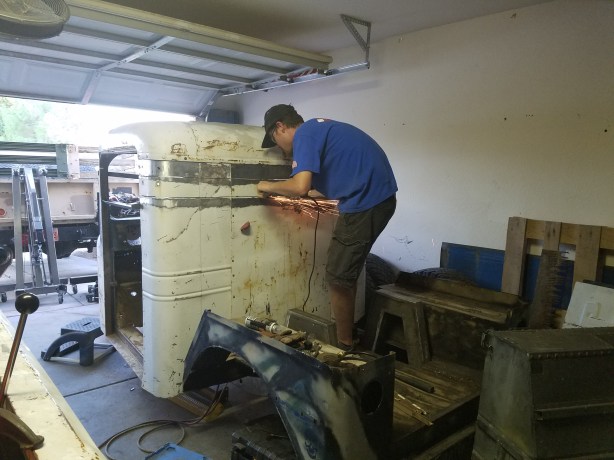
The cutting portion is done, we have cleaned up the lines and positioned the roof.20160930_1524571

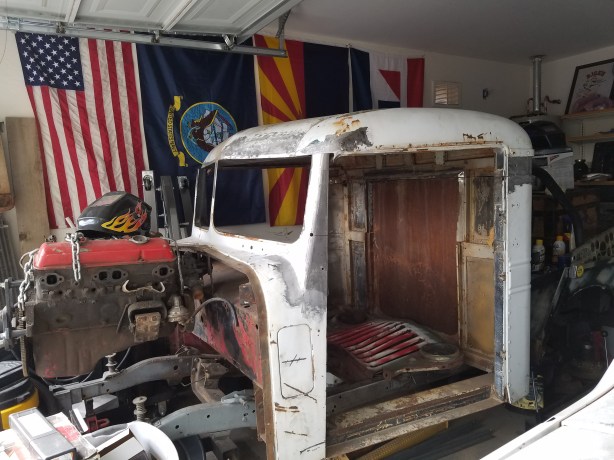
You can see the front end did not line up; there will be some fixing to do!20160930_1524411

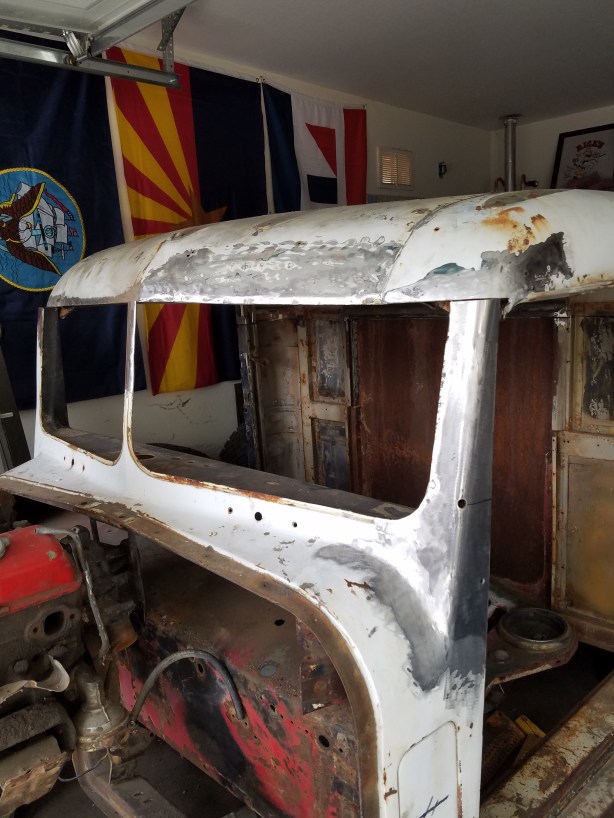
Probably the best example of how far off it got with only a 4″ chop.20160930_1524331

But, I was able to bring it back…

20161018_132551

and make it look good too!

This is only structural welding, but the chop is sound. This is where it will reside.20160930_2053041

In all, I am extremely happy with the results of my very first chop. I am sure that some people out there would have found it especially painful to watch me perform this surgical magic due to my anal retentiveness, but it was just me and my welder. There was no one there to bother me, and I was able to get out all of the irksome CDO tendencies that drive other people nuts. I worked through them, and I believe the final product paid off.

(“CDO”, for those of you that do not know, is much like “OCD [obsessive compulsive disorder]” except the letters are put in their proper sequence. My obsessive compulsiveness does sometimes get the better of me, but this time I think it worked out on my behalf!)

[Editor’s Note: I must admit that I came back and edited this post as to better convey the story. My apologies to any of you that think I should have gotten it right the first time.]

Just as it states up there, in the title, we were finally able to chop the top on the FrankenJeep!

As you can see, the chop itself went very well.

Sans Tailgate20160828_224916[1]

With Tailgate20160828_225613[1]

(And no, that tailgate was not cut crooked. Due to a mixture of MTV photo angles and the crooked blue sticker striping, it only appears like is was cut wrong.)

Here I am, on my way to work, and it is just a few days after Christmas. I left home on the morning of the 26th. It is now the 28th, and I just left Dubai, I am currently in Mauritius, approximately 11,339 mi (18,249 km) away from my Jeep… but, I was able to get some new goodies for the build before I left. Check out some of this stuff!

IMAG0515[1]  IMAG0513_1[1]  IMAG0514[1]  IMAG0512[1]

(Thank you Rick! You have been a great asset to the build!) Rick stopped by and dropped off a truck load of stuff for me! This is just a select few of the things he had to give me, I apologize for the MTV photos … I did not make time to properly showcase any of this, as I never meant to even post these pictures, they were only taken so that I could show Nathan and Tony the cool new toys I got. There is something about that steering wheel, that I really like! I think that it is the fact that the leather is all worn and perfectly patinaed. That big ol’ radiator fits perfectly behind my grille, and we are going to make the Hurst shifter handle longer, so that it comes up higher. In case you are wondering, I got two of the side-by-side seats. I plan on covering them in a seabag green canvas, but I will probably pay someone to do that, as I do not have a proper sewing machine in order to get these done they way they should be. If you are wondering what “seabag green” looks like, just think of any United States military member in transit. Or, you can check out this stock photo of one.

Screenshot_2014-12-28-16-41-37_1[1]

What now? Since it is going to be some time before I get back to the garage, I will try and get my administrative duties taken care of while I am not so distracted with all of that garage business. Although, once I do get home, I may need to hold off on the Jeep build, as the Pirate Ship will be requiring my attention due to its restrictive timeline. I will be focusing time and energy to that, until I can put it to a proper stopping point. The Pirate Ship is due to set sail the first week of April, and that means I have a lot of welding to do there. It should not take me too long though, as my welding projects are short, in nature – I just need to weld up the wench’s deck and the poop deck (the aft seating). But all of that is for another blog, this one here is for the FrankenJeep build!

I have most of what I need to make the front drop axle. (Thank you Jerry!) He provided me with the cut up Dana 44 so that I did not need to go chopping up a perfectly good axle. He also hooked me up with the trailer drop axle. Now, I just need to get a hold of some 220V welding, and I can get to axle fabrication! I would show you some pictures here, but the problem is, I do not have it in a comprehensible state. What I mean is, even if I did have photos for you, they would make absolutely no sense, as I only have half a Dana 44 with outers (there is no center to it), and an eight foot trailer axle. I will ensure to get some build pictures for you though.

I do have a new idea, a more concise idea, on how to do the fuel tank/gauge system. I am still going to utilize the 30 lb gas gauge,IMAG0574_1[1] I have just refined its use. You see, I was trying to figure out how turn the flange 90°, so that the gauge faces outwards, towards the rear, instead of sideways. Instead of doing that, I will just mount it to the side of something back there, say… a Jerry can.

I will mount the fuel gauge to the Jerry can, like shown in the photo, and then hard mount the can to the bumper, so it is sturdy. Next, I will grommet the can through the tub of the Jeep, connecting it into the fuel cell. This does multiple things for me. Among them, it solves the fuel gauge dilemma. It gives me a fill point, in order to actually fill up the Jeep, without having an unsightly gas cap cover. It also provides me with a guaranteed five gallons of fuel, and that is good.

When I get home, I should be able to go and retrieve all of my tools. That is a very good thing! I am pretty stoked about that. I should have a fairly decent stock of tools that should get me started, at least I will be able to have most of the tools I need in order to make my jobs easier. I do not know if you are aware how difficult it is to even do maintenance on a vehicle, let alone build one, when you only have a 285 piece tool set (thank you Wes!) and an Estwing claw hammer. My brother hooked me up with a nice tool set a few years ago for Christmas. I have been using the crap out of it, and keeping it clean, ever since. The problem comes when I have more than one person working on the vehicle, and when I need two wrenches, or when I do anything electrical. So, I got a tool box and some tools coming to me, and they should be ready for pick up when I get back.

So, between the work on the Pirate Ship, and the (anticipated) short stay home, I fear that I will not make too much progress on the Jeep when I return, in February. I will ensure that I give you any updates on the projects that I do complete, and I hope to see you here again soon…

Hey there everyone!

I have spent the last few days getting supplies ready to work on the monster, dubbed FrankenJeep.  So far, I have acquired the air bags, the four-link setup, the required c-notch, a 110 welder and a small 8 gallon air compressor, as well as some other various tools of the trade.

Oh yeah, I found a new blower for my engine!

IMG_1013

If I could only figure out how to get it off the oil rig, and to my house.

Just kidding, but it sure would be cool!  I did, however, get a box of goodies!

IMG_1025

Air bags, lines, & fittings, as well as my four-link, courtesy of Travis, and the guys at WheelsNParts.

IMG_1026

IMG_1024  IMG_1028

I also got my custom cut, 13.5″ monster c-notch, set.  Thank you to Kevin, and the guys at Just Plain Trick, in Mesa, for hooking it up!

IMG_1037 

Time to get to work!